


Your Headshot day should feel relaxed, joyful, and completely yours.
I’m Alex Kaplan, a headshot photographer and videographer based in New Milford, NJ, serving Northern New Jersey, New York City, and the Hudson Valley.
Browse by Category:
headshots
view more

REQUEST INFORMATION
Want to feel like THIS on your Headshot day?
Availability is limited. Check Your Date Here


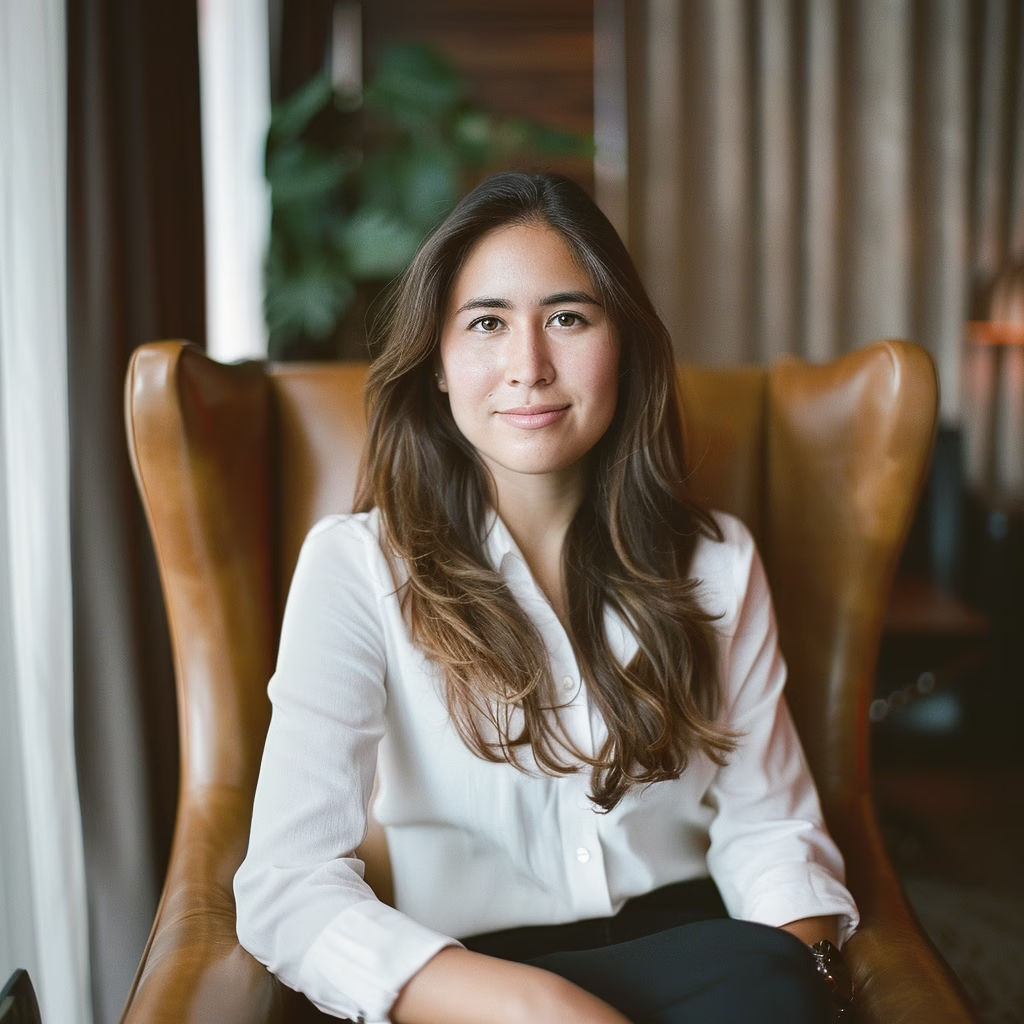
Maybe it’s a new LinkedIn profile or a company bio due Friday. You need something professional, and you aren’t ready to book a session yet. These DIY headshot tips were written for exactly that moment.
I’ve spent more than 30 years behind the camera, most of it photographing professionals across Northern New Jersey and NYC. Your phone is capable; it just can’t decide light, angle, and expression for you. That’s where we’ll focus.
Each tip below ends with a quick “Try This at Home” test.
9 DIY Headshot Tips for Better Photos at Home
If you’ve wondered how to take your own headshot without it looking like a selfie, work through these in order.
1. Find Soft, Natural Window Light
Light matters more than any phone upgrade. Face a large window so daylight falls evenly across your face, out of direct sun. Overcast days are a gift.
When people show me the phone photo they’ve been using, the culprit is usually the light, not the phone. Most often there’s a bright window behind them and their face sits in shadow. Switch off overhead bulbs too.
If you wear glasses, tilt slightly away from the window; my guide to avoiding glare in headshots with glasses has more fixes.

Try This at Home: Take one photo facing the window and one with the window behind you. Compare your eyes in both. The lighting question usually settles itself in seconds.
2. Choose a Clean, Uncluttered Background
A plain wall, neutral curtain, or tidy office corner all work. Remove anything that pulls the eye.
Step a few feet from the wall to create separation and keep your shadow off it.
Try This at Home: Shoot one frame against a busy bookshelf and one against a neutral wall. Shrink both to thumbnail size and notice which face you see first.
3. Use Your Smartphone’s Rear Camera
This is one of the simplest smartphone headshot tips, and one of the most overlooked. On most phones the rear camera delivers sharper detail than the selfie camera. Wipe the lens first; a thumbprint smudge causes more hazy photos than people realize.
Use a tripod or a steady stack of books with the self-timer, and avoid pinch-zooming. Portrait mode can help, but check your hair and shoulder edges for uneven blur.
Try This at Home: Set the phone on a tripod, start the timer, and capture a round of frames without touching it. The stiff, outstretched-arm look disappears.
4. Position the Camera at Eye Level
Low camera angles feel imposing; high angles can look unsure. Eye level, or a touch above, is the trustworthy middle ground.
Distance matters too. A phone at arm’s length exaggerates your nose, so back it up a few feet and crop later. Your phone’s 2x or 3x setting helps you fill the frame from farther away; on many phones it’s a sensor crop rather than a separate lens, so check that the shot stays sharp.
Try This at Home: Take a close selfie at arm’s length, then a frame from a tripod several feet back. Most people are surprised how different their own face looks.
5. Wear Clothing That Fits Your Professional Image
Dress for your industry, or the one you’re stepping into. Solid colors and subtle textures photograph best; tight stripes and busy prints steal attention. Pick a tone that contrasts gently with your background.
Fit counts more than price. For more, see my guide on what to wear for professional headshots.
Try This at Home: Hold two tops in front of your background and photograph each. The one that keeps your face the clearest thing in the frame wins.
6. Relax Your Shoulders and Adjust Your Chin
For most people, angling the body slightly and turning the face back to the lens looks more relaxed. Straight-on shoulders work too when you want a direct, authoritative portrait. Either way, let your shoulders drop an inch.
Push your chin slightly forward and down. It feels strange, but it defines the jawline. You’ll find more ideas in my guide to professional headshot poses.
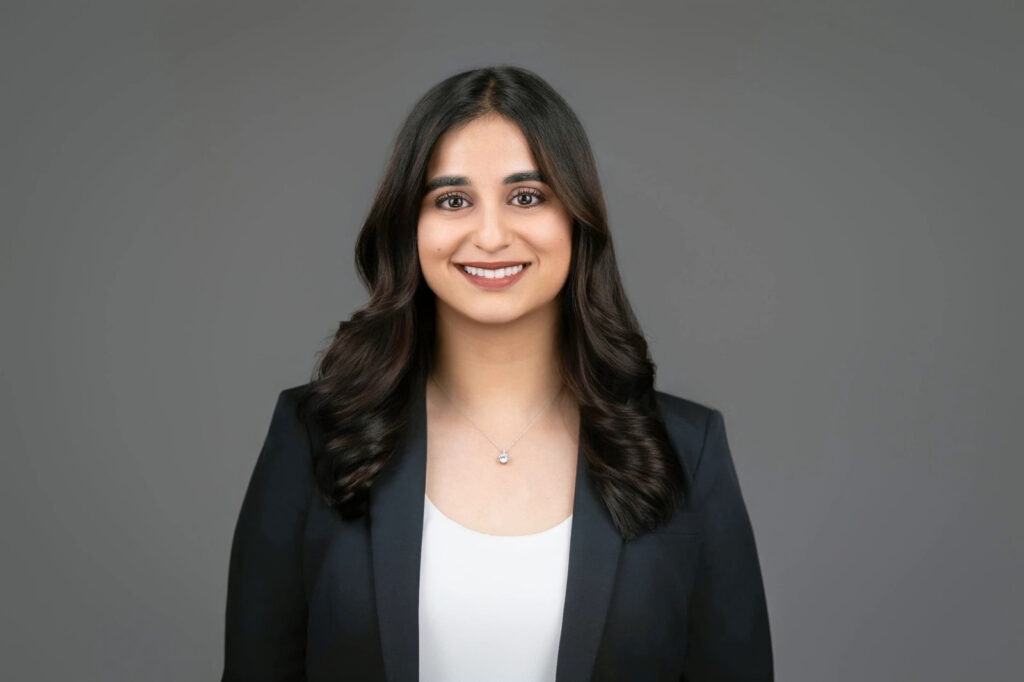
Try This at Home: Take one photo with your shoulders square to the camera, then one turned slightly. Keep whichever matches the impression you want.
7. Capture a Natural, Confident Expression
Expression is what people worry about most, and it’s what I care about most in my own sessions. A forced smile stops at the mouth while the eyes stay flat. A real one starts in the eyes.
Take a slow breath and let your jaw go loose. Picture who will see this photo and how you want them to feel meeting you. Take short breaks, because faces tire quickly.

Try This at Home: Start the timer and let your expression move slowly from relaxed to a gentle smile. The best frame is often the in-between moment you’d never pose on purpose.
8. Check Your Framing Before Taking the Photo
A classic headshot shows your head and the top of your shoulders, with a little room above your hair. Too much space makes you look small, and cropping off the top of your head looks like a mistake.
Keep your eyes sharp and near the upper third of the frame. Platforms crop profile photos into circles and squares, so leave extra room on every side.
Try This at Home: Shoot slightly wider than you need. Crop one copy square and one vertical, and see which suits each platform.
9. Edit Lightly and Choose Your Best Shot
Adjust brightness, correct white balance if your skin looks orange or blue, straighten the crop, then stop.
Heavy smoothing makes a face look plastic, and people should recognize you when you meet. Judge your final pick at thumbnail size, which is how most people will see it.
Try This at Home: Put the original beside your edit. If the edit looks clearer but still exactly like you, you’re done.
A Simple 10-Minute DIY Headshot Setup
DIY headshots at home fit inside a coffee break. Here’s how I’d string these DIY headshot tips together:
- Find a plain background a few feet from a large window.
- Face the window, with soft daylight on your face.
- Set your phone’s rear camera at eye level on a tripod.
- Check light and framing with one test shot.
- Take several rounds with relaxed, varied expressions.
- Review the results small, adjust one thing, and shoot again.
How to Know If Your DIY Headshot Is Good Enough
Look at the image the way a stranger would. Is your face clear, in focus, and softly lit?
Does the expression look natural, and does the background suit where the photo will appear? Most of all, does it look like you on a good day?
If so, you have a usable photo. For a LinkedIn refresh, a company directory, or a temporary profile photo, a well-made DIY headshot does the job.
When Should You Consider a Professional Headshot?
Knowing how to take professional headshots at home covers a lot, but some situations need more control: executive profiles, matching corporate team pages, client-facing websites, personal branding campaigns, and portfolios that depend on consistency.
That’s where controlled lighting, posing guidance, and expression coaching earn their place. For the full picture, see my comparison of DIY headshots vs. professional photography.
Frequently Asked Questions About DIY Headshots
Can I take a professional headshot with my phone?
Yes, a professional headshot with a phone is realistic when the setup is right: soft window light, a clean background, and the rear camera at eye level on a tripod. The camera is rarely the problem. Light, distance, and a relaxed expression decide whether the photo looks polished.
What is the best lighting for DIY headshots?
Soft, indirect daylight from a large window is the best free option for headshot lighting at home. Face the window, keep direct sun off your face, and switch off overhead bulbs so skin tones stay clean. Overcast days usually give the most even, flattering result.
How far should my phone be from my face?
Farther than arm’s length. About four to six feet is a good starting point, because a close selfie exaggerates whatever sits nearest the lens. If your phone has a 2x or 3x setting, use it from that distance, then crop afterward instead of pinch-zooming.
Should I use portrait mode for a headshot?
It can help if you use it carefully. Portrait mode softens the background, but the software sometimes blurs hair, glasses frames, or shoulder edges unevenly. Take the same frame with and without it, zoom in on the edges, and keep whichever version looks more natural.
Can I use a DIY headshot on LinkedIn?
Absolutely, as long as it’s clear, current, and looks like you. LinkedIn shows profile photos small and inside a circle, so center your face, leave room around your head, and check the image at thumbnail size before uploading. A clean DIY headshot beats an outdated photo.
Ready for a Headshot That Represents You?
Soft light, a quiet background, eye-level camera, careful framing, and an expression that feels like you: that’s most of it. These DIY headshot tips are a practical starting point.
When you need something more polished, I photograph professionals across New Jersey and NYC from my New Milford studio. See what a session involves on my professional headshots page. To talk timing, get in touch here.
Reply...


