

Your Headshot day should feel relaxed, joyful, and completely yours.
I’m Alex Kaplan, a Headshot Photographer and videographer based in New Milford, NJ, serving Northern.
Browse by Category:
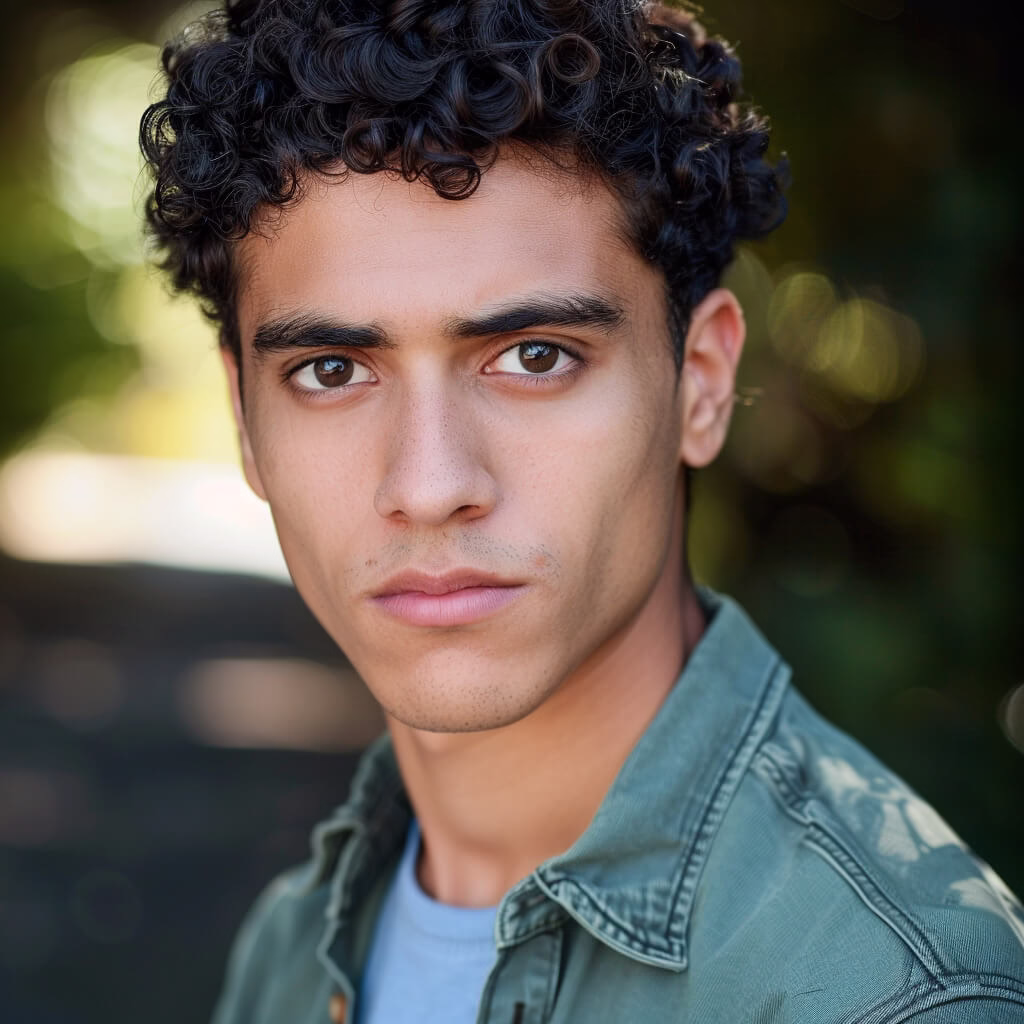
headshots
view more

REQUEST INFORMATION
Want to feel like THIS on your Headshot day?
Availability is limited. Check Your Date Here


Let’s be real — not everyone has the time or budget for a professional headshot. Maybe you’ve got a last-minute Zoom interview. Maybe you’re updating your LinkedIn while in-between gigs. Or maybe you just don’t love the idea of getting in front of a camera.
Whatever the reason, I’ve got your back.
As a headshot photographer in New Jersey with over 30 years of experience, I’ve worked with everyone from CEOs to brand-new real estate agents. And while nothing beats a professionally guided session, I also believe you should like the way you look in your photos — even if you’re doing it yourself.
So here’s how to take a solid, credible DIY headshot with just your phone, a window, and a little bit of strategy.


What You’ll Need
You don’t need fancy gear to get started. Here’s what I recommend:
- A smartphone with a decent camera (iPhone or Android — both work great)
- A tripod or something stable to prop up your phone (a stack of books can work in a pinch)
- A clean, uncluttered background — a plain wall or curtain is perfect
- Natural light — more on that below
- (Optional) A Bluetooth shutter or use your phone’s self-timer
No ring light? No problem. You can get great results with a window and some planning.

Lighting: Your Best Friend or Worst Enemy
Lighting makes or breaks a photo — and it’s the most common issue I see in DIY headshots.
Here’s how to make it work for you:
- Face a window. You want soft, indirect natural light, not direct sunlight.
- The best light comes from north-facing windows or when the sun is lower in the sky.
- If shooting outside, aim for golden hour — about 1 hour before sunset.
- Avoid overhead lighting (it creates unflattering shadows under your eyes and nose).
- Never stand with your back to a window — it’ll blow out the background and turn your face into a silhouette.
Pro tip: Hold your hand out and rotate slowly — when your palm looks the most even and glowy, that’s your light direction.


Framing and Composition
You don’t need to be a photographer to frame a decent shot.
- Head and shoulders only. Leave a little space above your head, but don’t include your whole torso.
- Keep the camera at eye level (or just slightly above) — never below your chin.
- Use the rule of thirds or turn on grid lines on your phone for balance.
- Make sure your background is clean and free of clutter. A white or neutral wall works great.
- Take a step or two away from the wall so it blurs a little.
And don’t shoot too close — step back and crop later for better proportions.
Posing and Expression
The biggest mistake I see? Stiff poses and forced smiles.
Here’s how to loosen up:
- Drop your shoulders and take a breath before the shot.
- Push your chin slightly forward to define your jawline (feels weird, looks great).
- Imagine you’re talking to someone you like — it helps you smile naturally.
- A subtle smile or confident closed-lip expression works great for professional profiles.
- Tilt your body slightly to one side — it’s more flattering than facing the camera straight on.
You don’t need to do a full pose session. Take 10–15 shots and pick the most natural one.


Editing: Keep It Light
Don’t go crazy with filters. A little cleanup goes a long way.
Here’s what I’d recommend using apps like Snapseed or Lightroom Mobile:
- Adjust exposure (brightness) and contrast
- Fine-tune warmth so your skin tone looks natural
- Crop and straighten if needed
- Blur the background slightly if it’s too distracting
Skip the heavy skin smoothing — it makes photos look artificial. You want to look polished, not plastic.
When to DIY vs. Hire a Pro
I’m going to be honest — a DIY headshot is better than no headshot at all. But it does have its limits.
DIY is fine if:
- You need something fast and temporary
- You’re building a placeholder for LinkedIn or Zoom
- You’re comfortable being self-directed
Hire a professional if:
- You’re job hunting in a competitive industry
- You’re rebranding yourself or launching a business
- You need consistent images across your website or team
- You want to actually like the way you look in photos
Professional sessions are guided, coached, and lit in a way that brings out your best — even if you usually hate how you look in pictures. That’s what I do every day.
Final Thoughts
Taking your own headshot doesn’t have to be stressful. With a little know-how and the right light, you can create something that feels clean, confident, and true to you.
And when you’re ready for something more elevated — when you want a photo that makes you say, “Damn, that’s me?” — I’m here for that too.
Want headshots that actually make you feel good about how you look?
I offer clean, modern portraits with expert posing and fast delivery.
✅ Studio or on-location
✅ Same-day proofs
✅ No awkward vibes
💬 Click here to schedule your headshot session or text 917-992-9097 — let’s make it happen.
Related Blog Posts:
- Paramus Corporate Headshot Photographer
- Hackensack Headshots for Executives
- How to Prepare for a Professional Headshot Session
Linking
- https://alexkaplanphoto.com/njheadshots/ – Main NJ Headshot Portfolio
- https://alexkaplanphoto.com/corporate-events/ – Corporate Event Photography
- https://alexkaplanphoto.com/modeling/ – Modeling and Branding Portraits
Related Services:
- View NJ Corporate Headshot Portfolio
- Corporate Event Photography in Newark
- Modeling & Acting Headshots
Helpful Links:
Looking for other areas? Check out:


